1. Installing Zabbix daemons
1 Download the source archive
$ tar -zxvf zabbix-2.4.2.tar.gz
2 Create user account
groupadd zabbix
useradd -g zabbix zabbix
3 Create Zabbix database
Database creation scripts
MySQL
shell> mysql -u<username> -p<password>
mysql> create database zabbix character set utf8 collate utf8_bin;
mysql> quit;
shell> mysql -u<username> -p<password> zabbix < database/mysql/schema.sql
# stop here if you are creating database for Zabbix proxy
shell> mysql -u<username> -p<password> zabbix < database/mysql/images.sql
shell> mysql -u<username> -p<password> zabbix < database/mysql/data.sql
4 Configure the sources
prerequisites:
yum install net-snmp
yum install php-common php-mbstring php-bcmath
Step 2
Make sure that all software prerequisites are met.
cd zabbix-2.4.2
./configure --enable-server --enable-agent --with-mysql --enable-ipv6 --with-net-snmp --with-libcurl --with-libxml2
5 Make and install everything
make install
note: error: 'XML_PARSE_HUGE' undeclared (first use in this function) zabbix upgrade
vi /usr/include/libxml2/libxml/parser.h
add:
 typedef enum {
     ...
     XML_PARSE_HUGE = 1 << 19, / * relax any hardcoded limit from the parser * /
     ...
 } XmlParserOption;
save and type
make install
6 Review and edit configuration files
edit the Zabbix agent configuration file /usr/local/etc/zabbix_agentd.conf
edit the Zabbix server configuration file /usr/local/etc/zabbix_server.conf
if you have installed a Zabbix proxy, edit the proxy configuration file
/usr/local/etc/zabbix_proxy.conf
vi /usr/local/etc/zabbix_server.conf
DBPassword=password
7 Start up the daemonsshell> zabbix_server
shell> zabbix_agentd
To start/stop daemons copy scripts from
/zabbix-2.4.2/misc/init.d/fedora/core to /etc/init.d/
2. Installing Zabbix web interface
Copying PHP files
Common locations of HTML documents directories for Apache web servers include:
/var/www/html (Fedora, RHEL, CentOS)
mkdir <htdocs>/zabbix
cd frontends/php
cp php <htdocs>/zabbix
chmod -R 777 /var/www/html/zabbix
Installing frontend
Step 1
In your browser, open Zabbix URL: http://<server_ip_or_name>/zabbix
You should see the first screen of the frontend installation wizard.
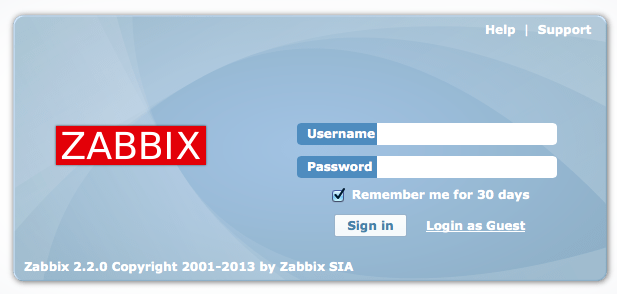
After completing all the steps: you will see Zabbix “Welcome” screen. Enter the user name Admin with password zabbix to log in as a Zabbix superuser.
Install Windows Agent:
Create zabbix agent configuration file c:\zabbix_agentd.conf.
sample file available at zabbix_agents_2.2.0.win\conf\zabbix_agentd.win.conf.
Now edit configuration and update following values.
Server=192.168.1.11
Hostname=WIN-SERVER-2012
Lets install zabbix agent as windows server by executing following command from command line:
c:\zabbix_agents_2.2.0.win\bin\win64> zabbix_agentd.exe --install
Use following command to start zabbix agent service from command line
c:\zabbix_agents_2.2.0.win\bin\win64> zabbix_agentd.exe --start
Open run windows >> type “services.msc” >> press enter
start zabbix service.
Install Zabbix-Agent from source on the Linux server that you want to monitor.
download zabbix source package
tar -xzf zabbix-2.0.2.tar.gz
./configure --enable-agent
make install
adduser zabbix
Copy the sample configs to /usr/local/etc for the agentd.
[root@mail zabbix-2.0.2]# cp conf/zabbix_agentd.conf /usr/local/etc
Now go to /etc/zabbix/zabbix_agentd.conf, and edit (at least):
Server=192.168.0.69
ServerActive=192.168.0.69 [Example IP address of the Zabbix Server]
Hostname=Mail_Server [Exactly the same name as our zabbix host name – See #1 above.
NOTE:This name is case sensitive!]
ListenIP=192.168.0.100 [Example
Next, configure /etc/init.d/
cp misc/init.d/debian/zabbix-agent /etc/init.d/zabbix-agent
Install Zabbix Agent on CentOS/RHEL
Step 1: Add Required Repository
CentOS/RHEL 6:
# rpm -Uvh http://repo.zabbix.com/zabbix/2.2/rhel/6/x86_64/zabbix-release-2.2-1.el6.noarch.rpm
CentOS/RHEL 5:
# rpm -Uvh http://repo.zabbix.com/zabbix/2.2/rhel/5/x86_64/zabbix-release-2.2-1.el5.noarch.rpm
Step 2: Install Zabbix Agent
yum install zabbix zabbix-agent
Step 3: Update Zabbix Agent Configuration
Edit zabbix agent configuration file /etc/zabbix/zabbix_agentd.conf and update
Zabbix server ip
#Server=[zabbix server ip]
#Hostname=[ Hostname of client system ]
Server=192.168.1.11
Hostname=Server1
Step 4: Start/Stop Zabbix Agent
# /etc/init.d/zabbix-agent start
# /etc/init.d/zabbix-agent stop
Screen shots:


No comments:
Post a Comment